Table of Contents
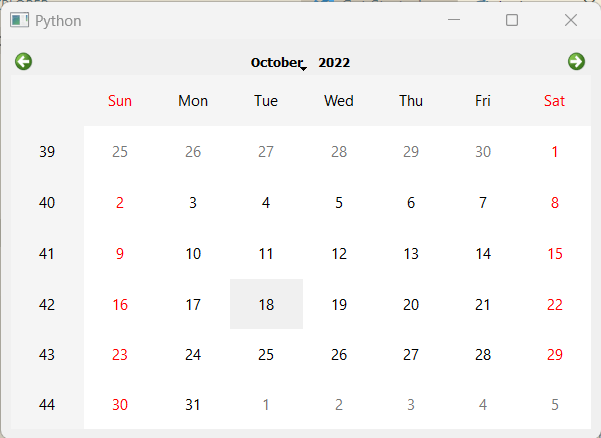
- Create a GUI Calendar using PyQt5 in Python - Javatpoint
- GitHub - HyeminBaek/Python-GUI-Calendar-with-tkinter: The calendar ...
- Python Gui How To Create Aboutbox In Pyside2 Codeloop - vrogue.co
- How to Create GUI Calendar using Python | Python Tkinter GUI Project ...
- Python GUI Working With GridLayout Of Pyside2 Qt For Python - YouTube
- Python Gui How To Create Aboutbox In Pyside2 Codeloop - vrogue.co
- Pyside2 Create Window | Python GUI - Codeloop
- how to make GUI Calendar in Python || using Tkinter or tkcalendar ...
- #7 Python Animated slide menu with navigation buttons, Pyqt5 , Pyside2 ...
- Python GUI Creating Slider in Pyside2 - YouTube

Introduction to PySide2
QLCDNumber and QTimer: The Building Blocks of Our Digital Clock

Building the Digital Clock
To build the digital clock, follow these steps: 1. Import the necessary modules, including PySide2 and sys. 2. Create a QApplication instance to initialize the GUI event loop. 3. Create a QWidget instance to serve as the main window for our application. 4. Create a QLCDNumber instance to display the time. 5. Create a QTimer instance to update the time display every second. 6. Connect the QTimer's timeout signal to a slot function that updates the time display. 7. Show the main window and start the GUI event loop.
Example Code
Here's some example code to get you started: ```python import sys from PySide2.QtCore import QTimer from PySide2.QtWidgets import QApplication, QWidget, QLCDNumber, QVBoxLayout class DigitalClock(QWidget): def __init__(self): super().__init__() self.initUI() def initUI(self): self.lcd = QLCDNumber() self.timer = QTimer() self.timer.timeout.connect(self.showTime) self.timer.start(1000) layout = QVBoxLayout() layout.addWidget(self.lcd) self.setLayout(layout) self.showTime() self.show() def showTime(self): import time currentTime = time.strftime("%H:%M:%S") self.lcd.display(currentTime) def main(): app = QApplication(sys.argv) clock = DigitalClock() sys.exit(app.exec_()) if __name__ == "__main__": main() ``` This code creates a simple digital clock that displays the current time in hours, minutes, and seconds. In this article, we explored how to create a Python GUI digital clock using PySide2's QLCDNumber and QTimer classes. We also provided a brief overview of the YouTube tutorial that inspired this project. With this knowledge, you can create your own digital clock application using PySide2. So why not give it a try? Download the PySide2 library, follow the steps outlined in this article, and start building your own digital clock today!